
How to Create A Photographer Course Site: A Complete guide
Learn this step-by-step procedure to discover the steps to create an online course for photography with CreativeMindClass which is a tool for free that is used by the top photographers.
How to create an online site in just 6 steps
Convince your customers to purchase with text and visuals.
An informative, beneficial website will sell the program for the student. The key is asking the following inquiry: What is the reason someone should decide to take your photography instead of another course? Make your promise clear to your client, so that they know what to anticipate. A well-converting course website is typically simple, unique and engaging. It has captivating copy as well as visuals representing the main positives, all capped off with a clear calling-to-action.
In this tutorial we will show you the practical approach to creating a beautiful website using CreativeMindClass. It lets you consistently present your course benefits with text, photos and promotional videos. You can also build a site that is convincing to your viewers.
This guide will help you follow these steps.
- Get the visitors' attention
- Add inspiring visuals
- Start your course
- Highlight benefits
- Offer a sample of your course
- Make it available to your viewers
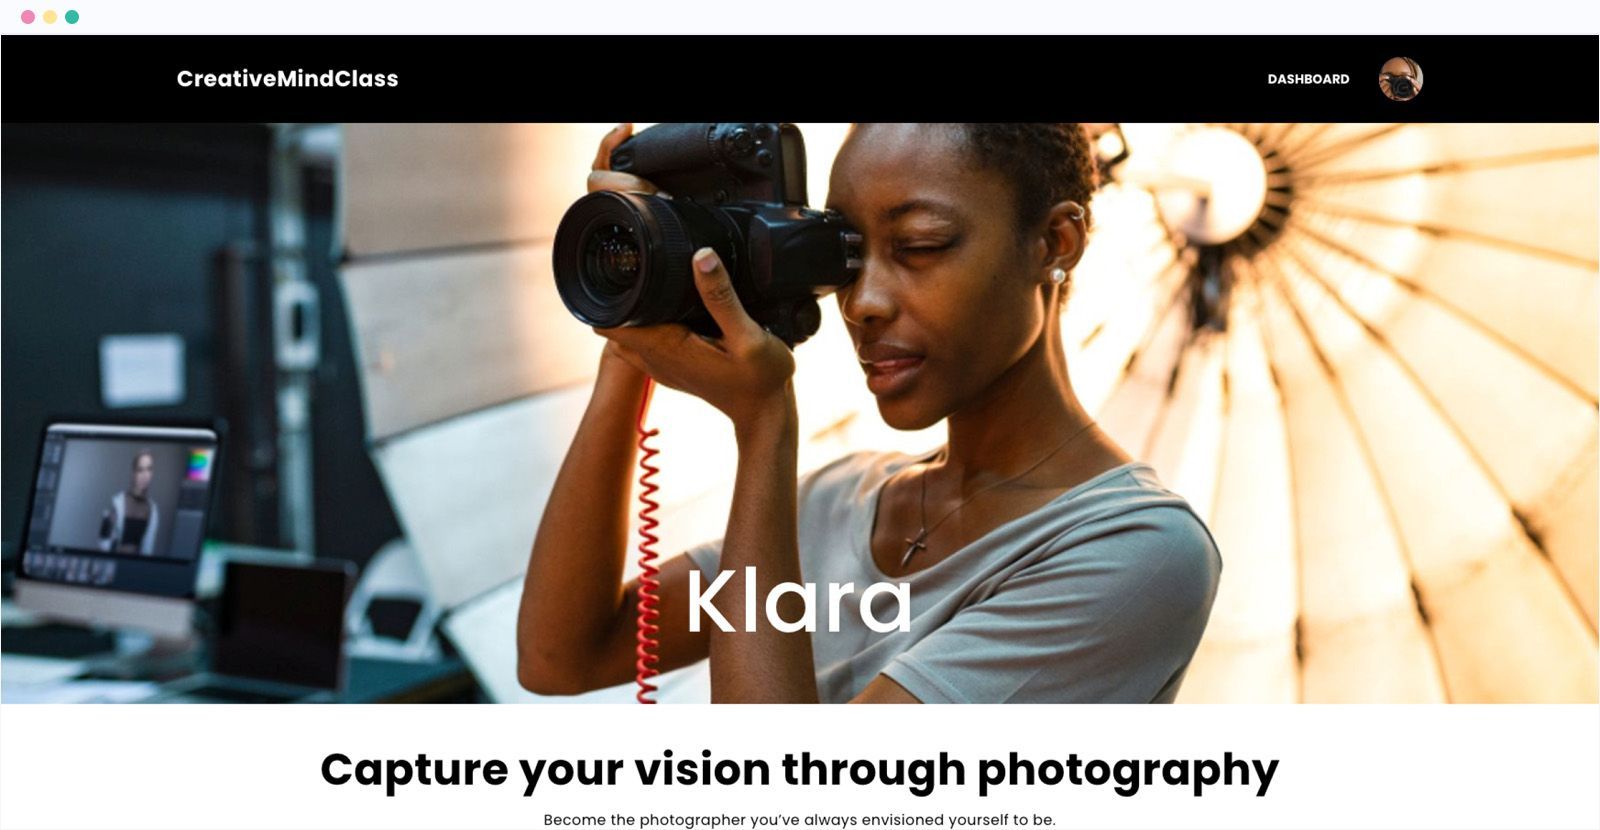
1. Attract the attention of your visitor
On your website, you should get to the point quickly before your potential customer is able to move on.
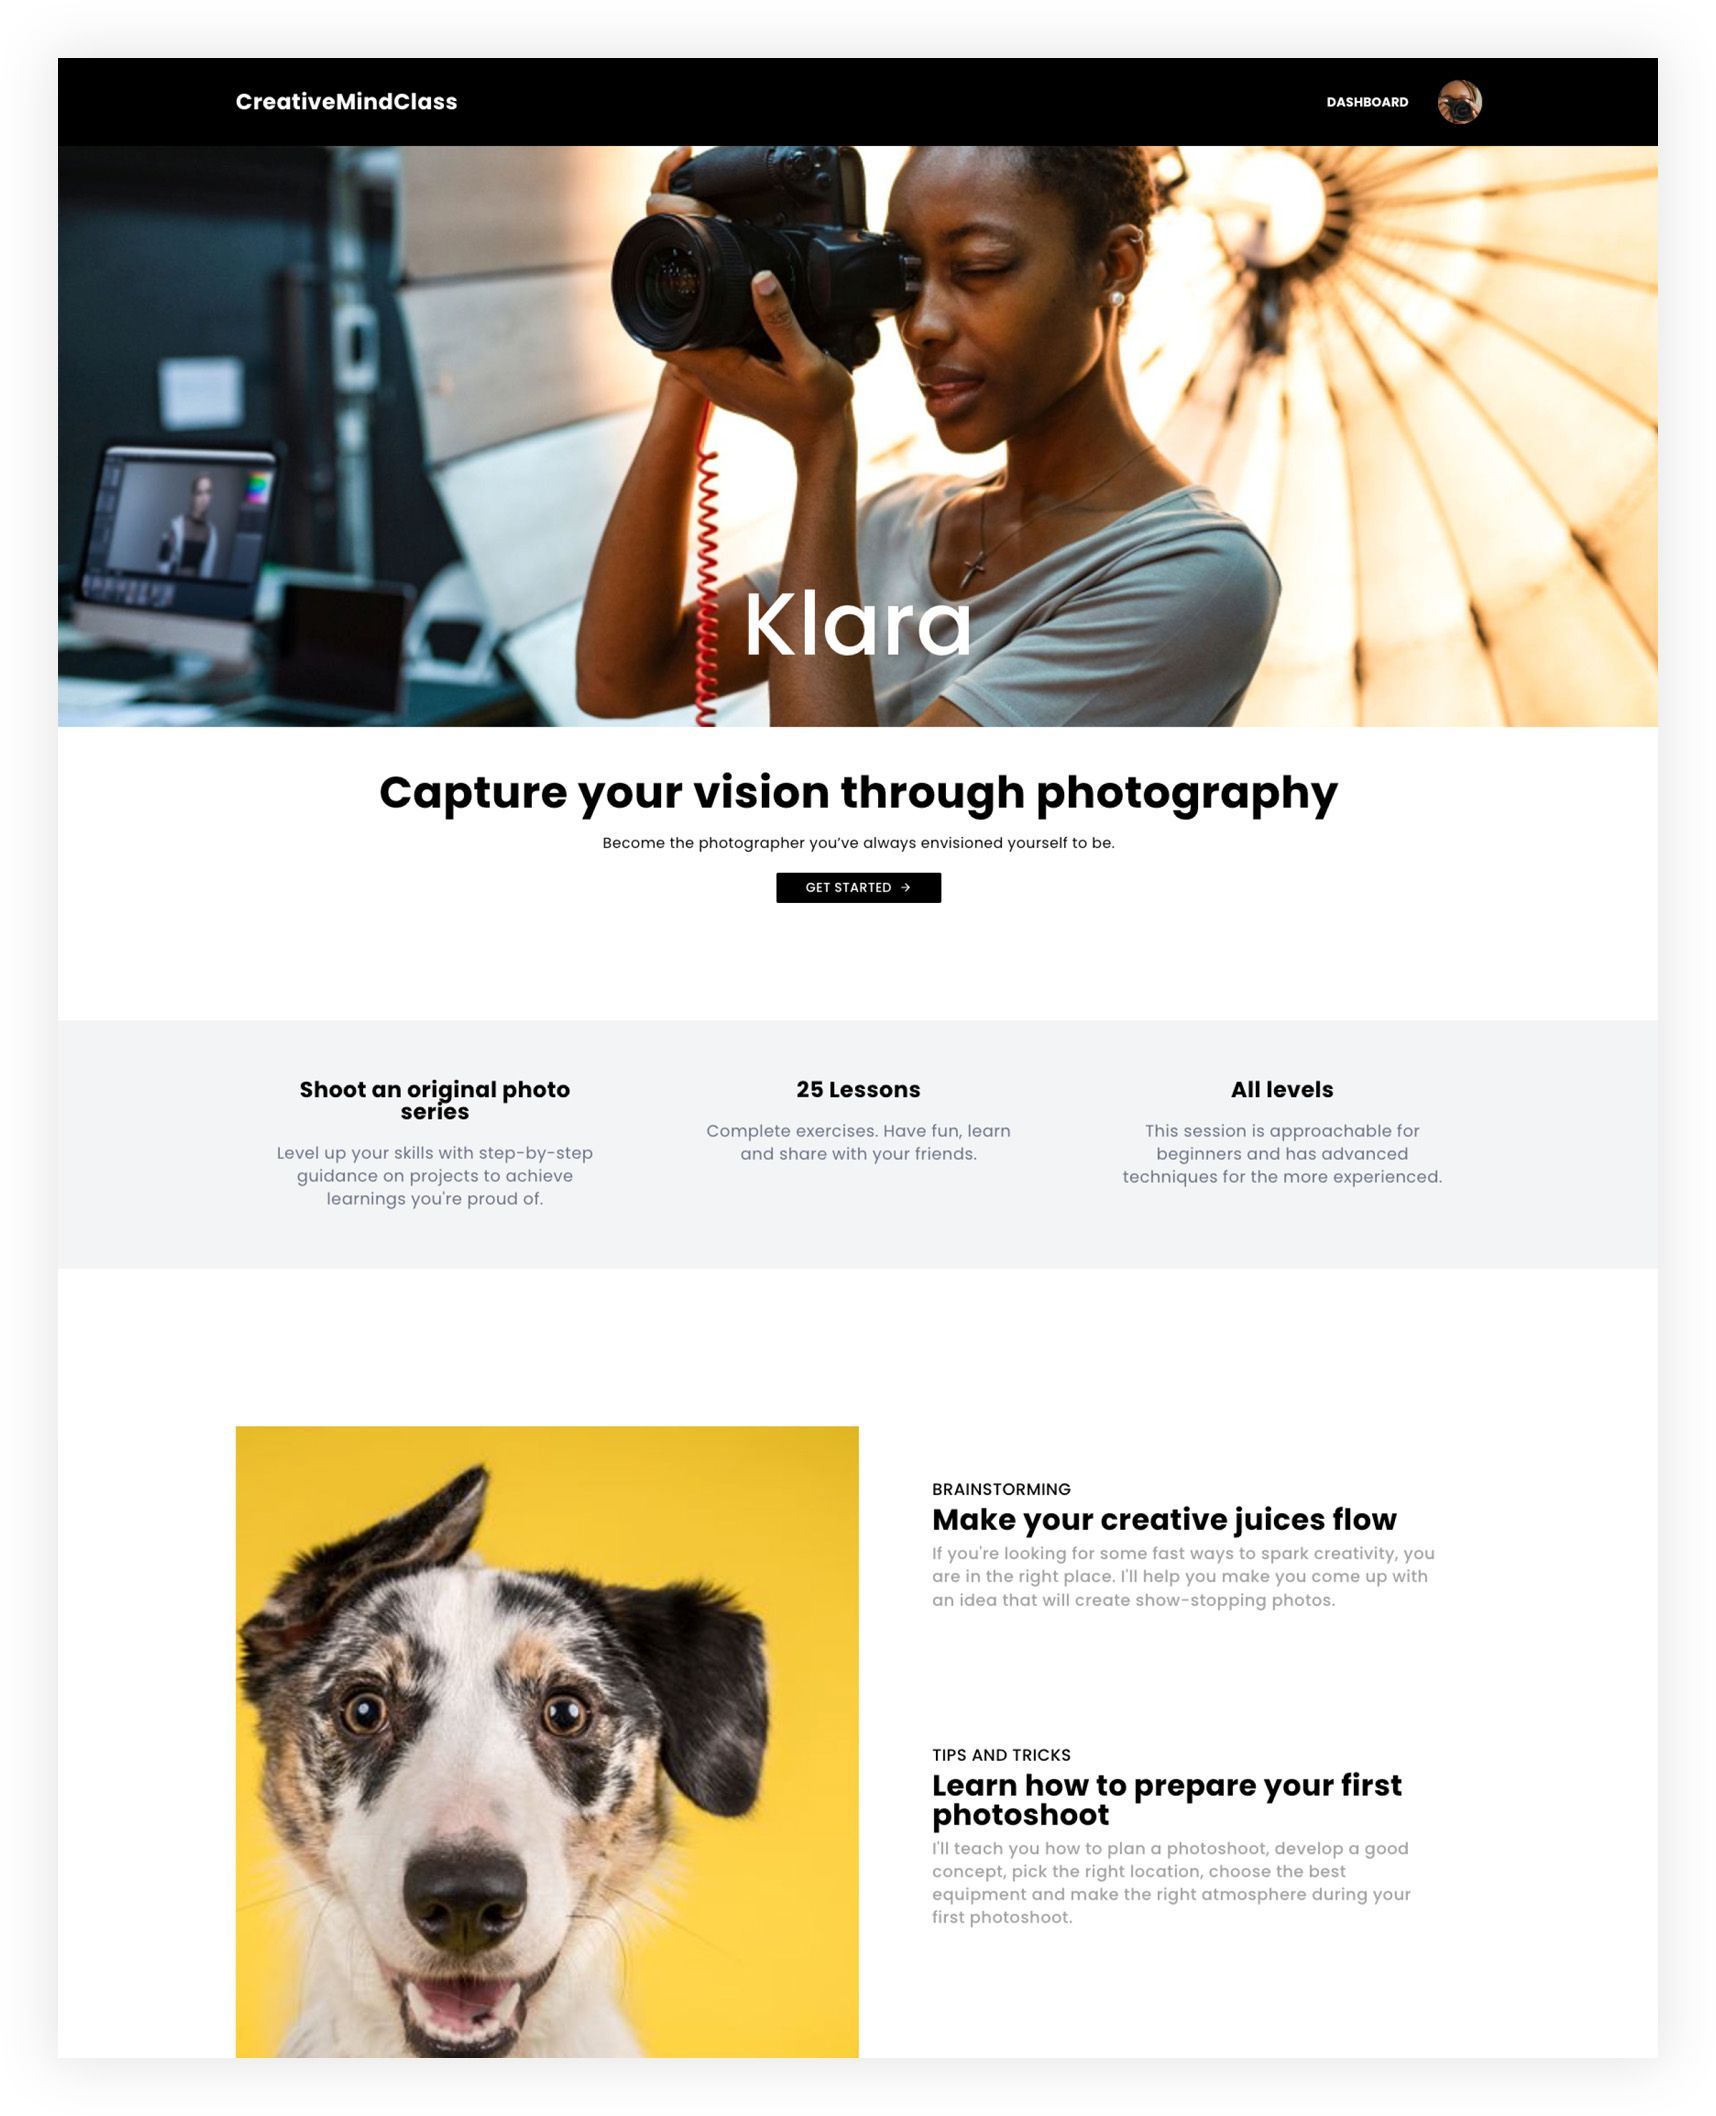
It's essential to create solid foundations at the beginning. First thing that they will look at is the headline. It describes what a visitor will get through your online photography class. It clearly outlines the benefits of the course.
Be sure to keep it brief, punchy and simple. The easiest way to ensure that the headline stays short is to add an accompanying headline. This can be similar to the end of a sentence or another sentence that supports the main statement.
What is it? within CreativeMindClass
- Click the Websitein menu in the main menu, then click it to display it.
- Click the Edit button on Welcome section.
- Use the HEADLINE. For example "Capture your thoughts through photography".
- Create a SUB-HEADLINE. In this case, for example: "Become that photographer you've always envisioned yourself to become".
2. Add inspiring visuals
Next, you add the hero image (or background footage) in the upper part of the course website to help visitors understand what the course offers.
What do the images of your hero tell us about the advantages of your online photography course? Place your potential customer in the scenario you've created for the course. If you've created a class, for example, about taking dog pictures You can create the collage of photos or even a background video using the finished shots. Your images should be huge, crisp, and high-quality.
Make use of your own images or browse through the internet for online libraries and quickly discover stunning images.

How do I get it within CreativeMindClass
- Click on Edit button on the Welcome section.
- Click HERO Image, BACKGROUND VIDEO or ANIMATIONto add your visuals.
3. Introduce your subject
Include some general information regarding the online photography class.
What's it used for? How long will it last? What number of lessons do you provide? Do you offer any bonuses items? What's the class project? Who will the class be for?
These details help customers who browse the page to quickly comprehend what they're getting.
How to do it within CreativeMindClass
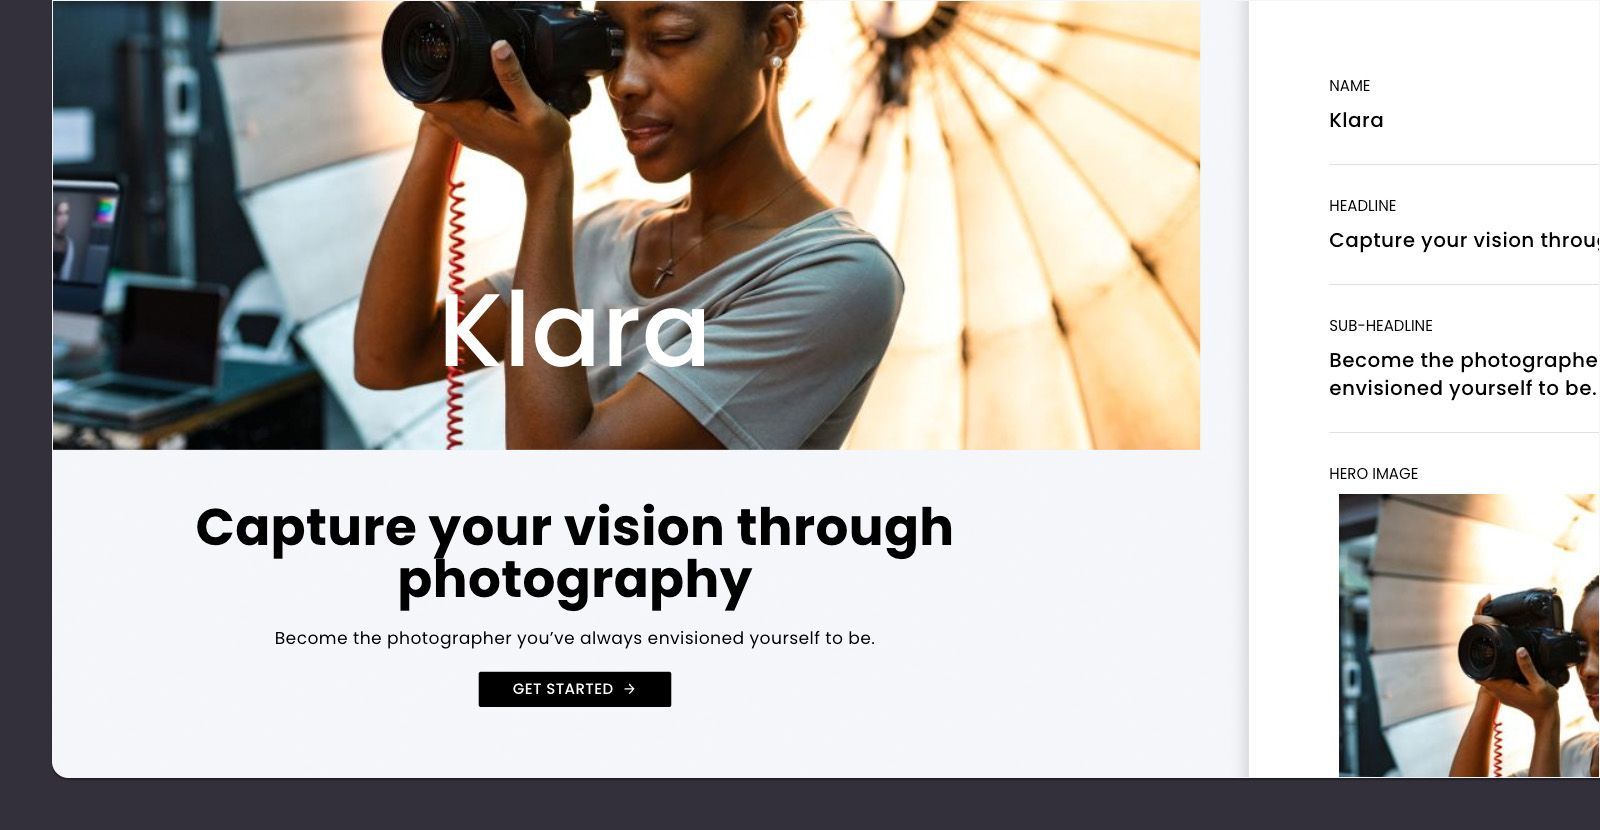
- Click Edit button located in the Overview section.
- Type Header. Example: "Shoot an original photo sequence".
- Type PARAGRAPH. Use PARAGRAPH.For example "Level improve your abilities through step-by step guidance for tasks to gain knowledge you're happy about".
4. Highlight benefits
Clearly stated benefits persuade most users. Include more information on your program, the your learning outcomes and worth.
What will they acquire? What will the class do for a student? What are the changes they are going to undergo? How do you tackle the problems?
One of the easiest ways to emphasize the benefits of a product is to compose a short, punchy, and concise header. After that, you can add a sub-header to support the main statement. In the paragraphs, compose a brief description of the primary Learning outcomes and then write in simple words the value you're providing.
Another method to emphasize the advantages of your class is by using an attractive image.
How to do it within CreativeMindClass
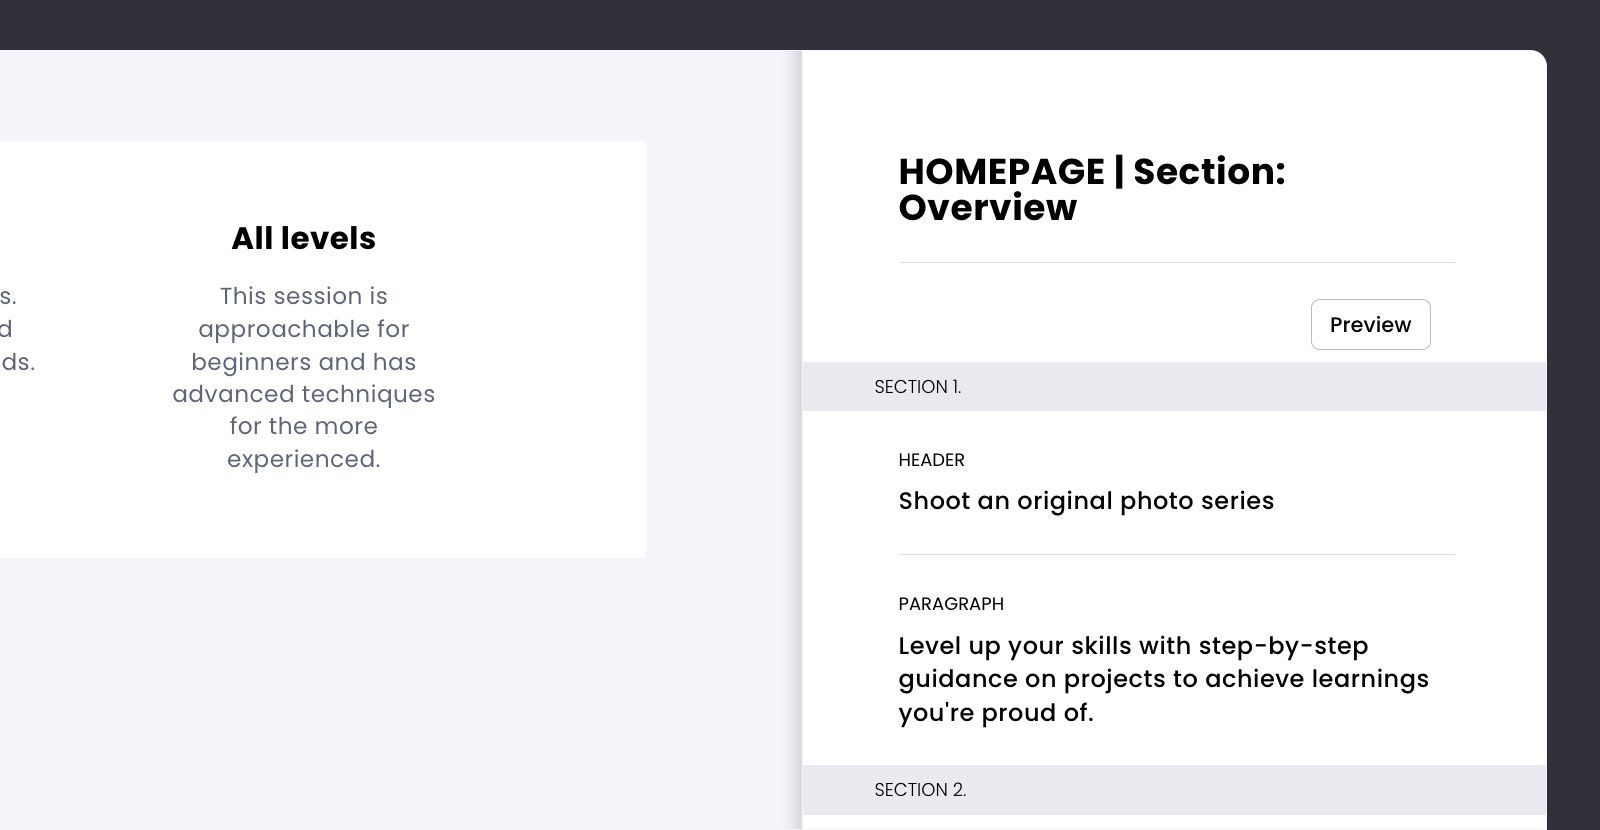
- Click Edit button on the Benefits section.
- Type Header. As an example, "Make your imagination flow".
- Create a Type the SUB-HEADER. For example "Get an incredible concept".
- Write a PARAGRAPH. For example "If you're searching for fast ways to spark creativity, you are in the right place. I'll assist you to come up with an idea that will create amazing photos ".
- Click SECTION IMAGEand upload the image you want to use.
PRO TIP: Focus on the three primary advantages. Keep the copy short and simple to keep the visitor's focus. Removing anything that's hard to follow.
5. Try a bite of your meal
Anyone who's looking the course page wants to get an idea of the content. Create a stunning promotional trailer. For a promo trailer, it is possible to create a stunning and dynamic video of 30-60 minutes.
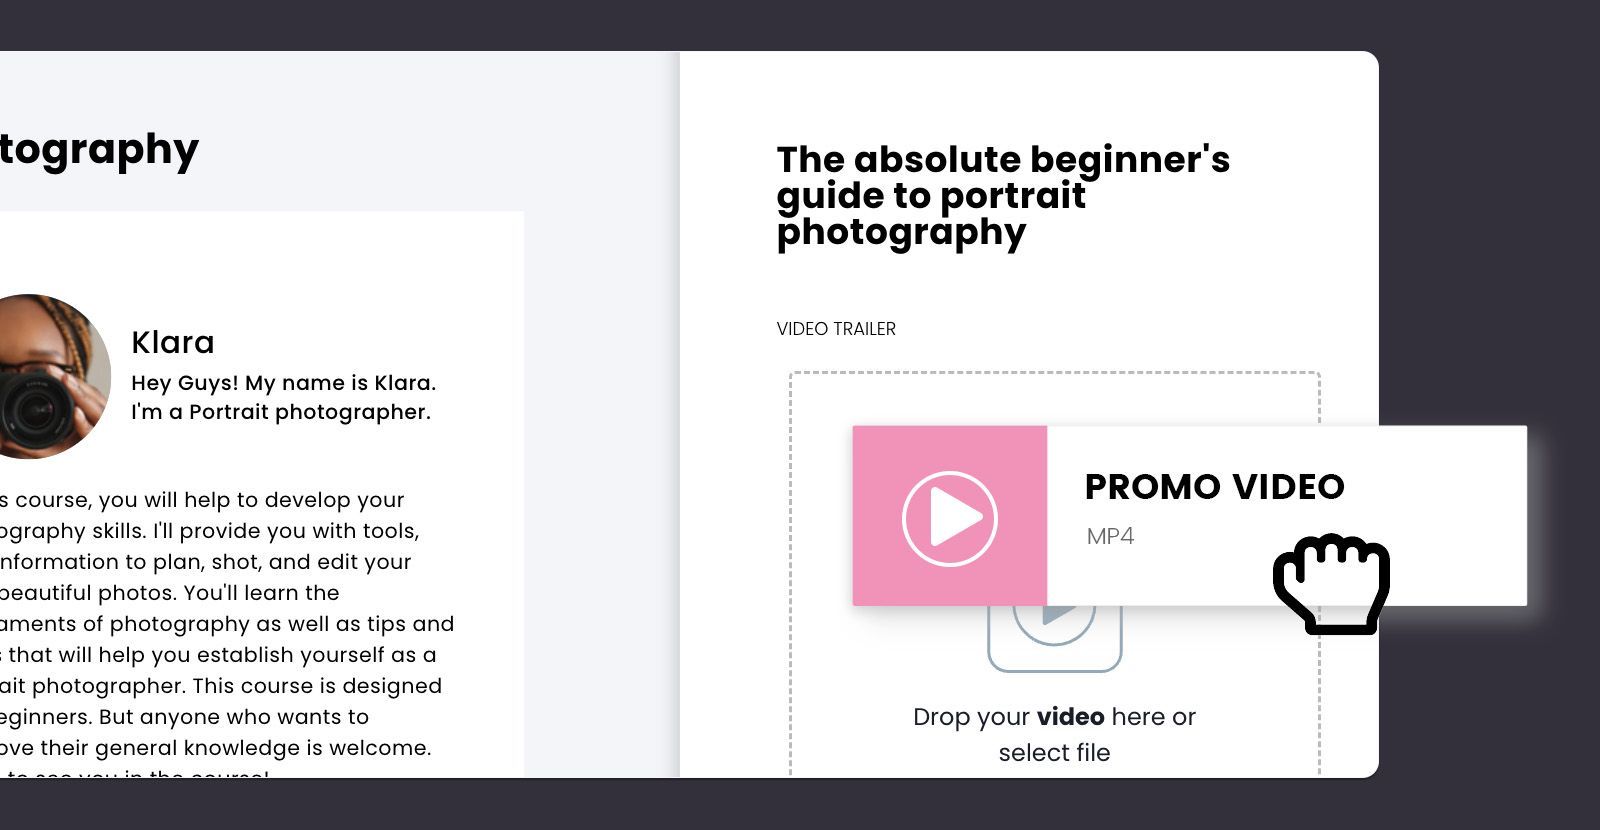
What is it? within CreativeMindClass
- Click My Classesin the main menu, to launch it.
- When in class, click Class page tab to display it.
- Click VIDEO TRAINERto upload your promo video.
6. Make sure to share it with your friends and colleagues.
This is a thrilling moment after all the hard work. When you've completed your course website Your online photography class can be shared with the people who are interested in your course. Include the URL to your site, social media, email or blog and begin the promotion marketing campaign.
PRO TIP: Before you present the class to your students, be sure that your class, all courses, and assignments have been published.
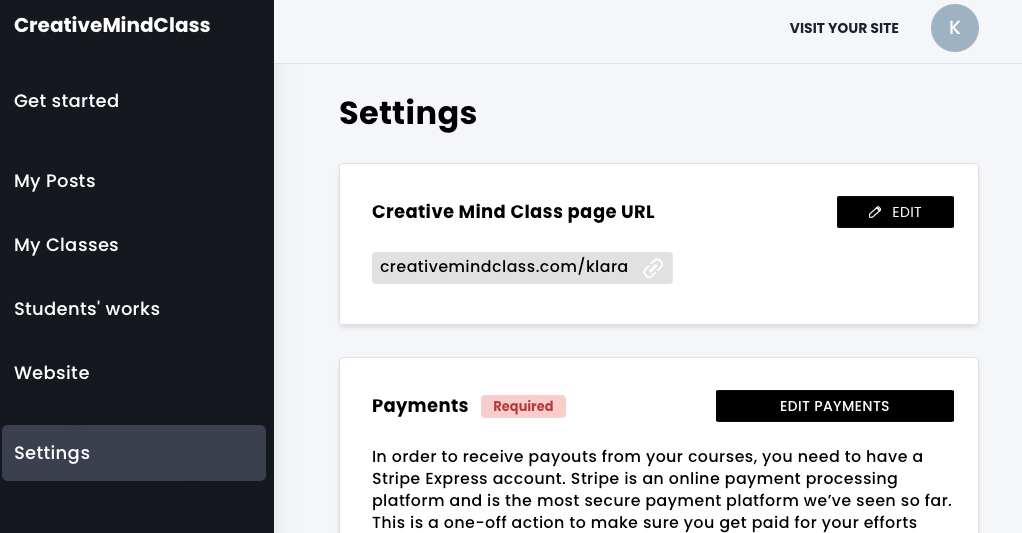
What is it? in CreativeMindClass
- Go to Settingsin main menu menu to open it.
- Copy CreativeMindClass page URL.
- You can share your course with your students.
And you're done!
Now, you have an attractive website that will promote your photography online course. If you're starting your first online photography course today, you can use this free template for a website design, or check out our full instruction to the best way to design an online photography course.
Create your website for an online photography class. Today.
Start for free with CreativeMindClass's simple-to-use templates.
Join for free and there is no time limit
Article was posted on here